ACCURACY AND PROCESS RELIABILITY
QUALITY CONTROL
OUR QUALITY ASSURANCE IS BASED ON TWO PILLARS
- Internal control
- External control
The employees of Thomé GmbH are responsible for quality control of the internally manufactured components or assemblies. We also prepare general test reports, initial sample test reports (EMPB) and all other quality certificates, depending on customer requirements.
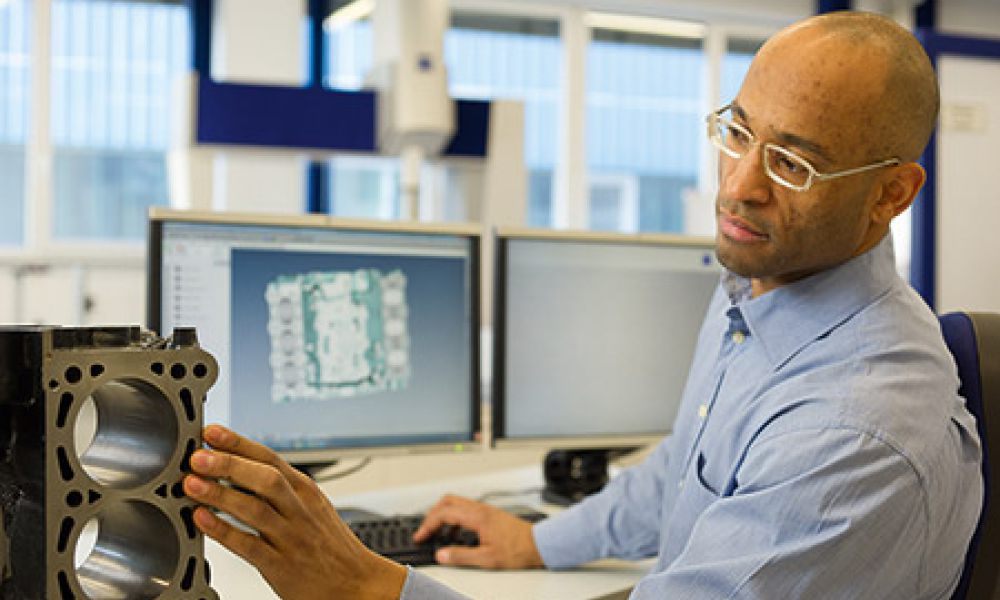
During the measurements, standard geometries, toothing and 2D / 3D curves can be recorded and components can also be measured against a CAD data set. For external contract measurement, the same measurement options mentioned above apply only to components or assemblies provided. On our 3D coordinate measuring machine (CMM) from Zeiss, we create all report formats and other quality certificates depending on customer requirements. Devices and gauges can be set or coordinated by us on the 3D coordinate measuring machine (CMM). Measurements on provided components or assemblies for error analysis and correction determination are our standard business. It is also possible to scan components to determine the geometry and then create a 3D model with drawings. All measuring equipment is available for measuring hardness and roughness values. Our team creates CNC measuring programs that are then required by the customer for internal production testing.
In general, it goes without saying that our CMM is housed in an air-conditioned measuring room with monitored environmental conditions.


